

- A Shopify Partner account (free to create)
- A payment card for the two Pro signups in step 3
- Your OpenSubs license key (delivered with your purchase)
1
Create the custom app
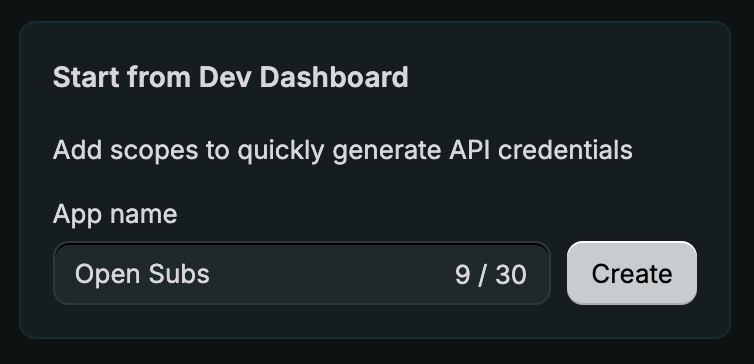
- Go to the Shopify Dev Dashboard and click Create app.
- Enter your app name, such as “OpenSubs”, and click Create.
- Click Settings in the left menu. Copy the Client ID and Client secret, then scroll down to App automation token and create an App Automation Token (deploy-only). Copy that too.
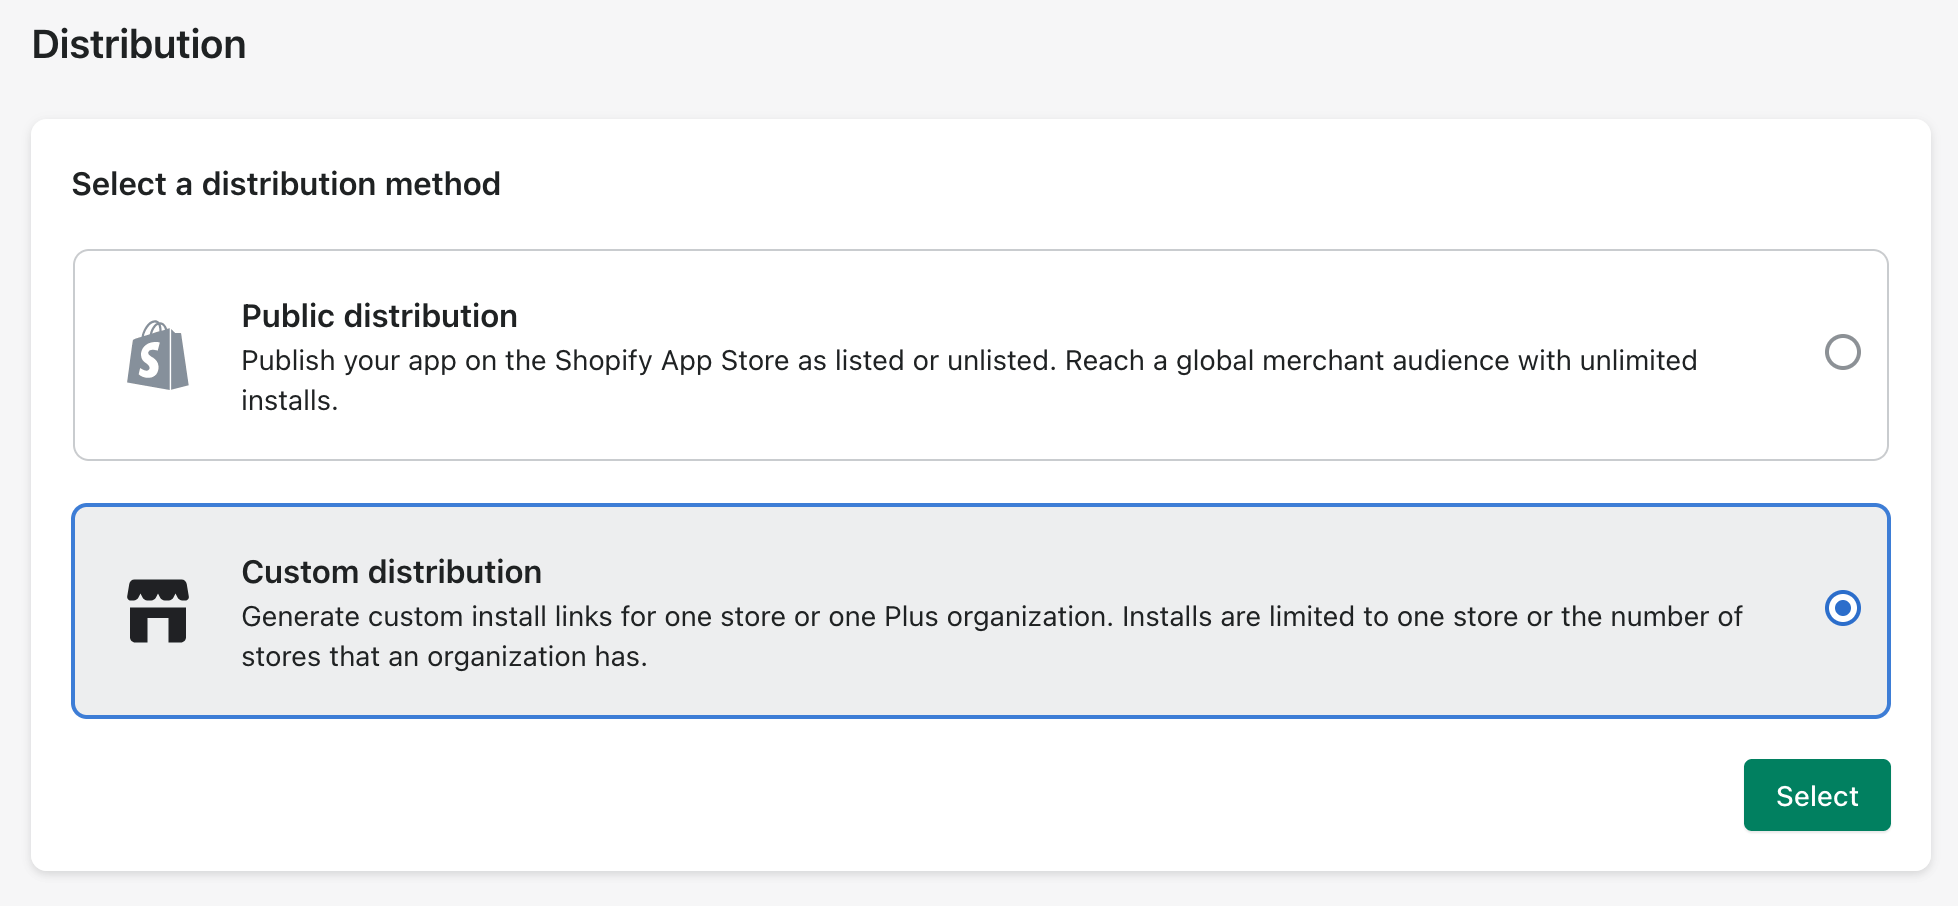
- Back on the App Overview page, click Select distribution method in the Distribution block and select Custom distribution: this makes the gated API approvals on the next step instant.
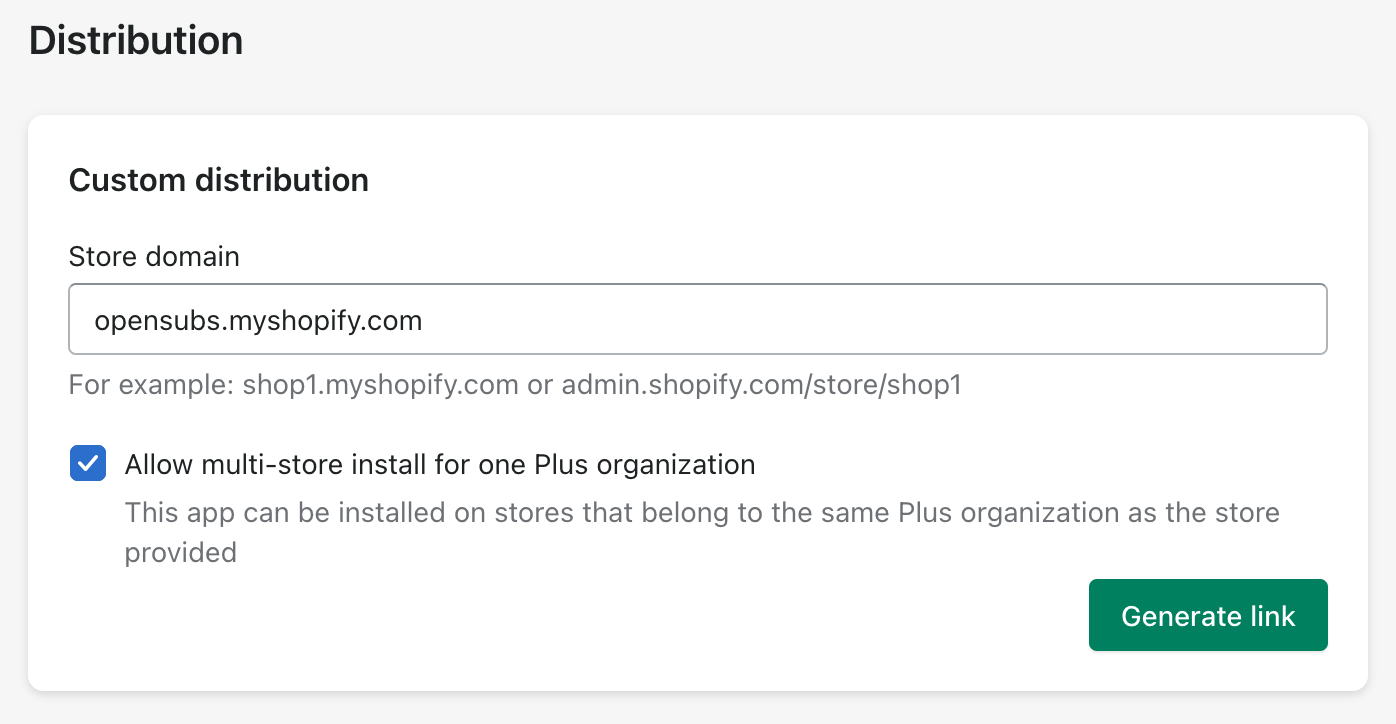
- Enter the store domain where the app will be installed and click Generate link.
- Click API access requests in the left menu and click Request access for both:
- Read all orders scope
- Access subscriptions APIs
Data-use justification
Checkpoint: app created with Custom distribution; Client ID, Client secret, and App Automation Token copied; every access request granted.
2
Create the dev store
- Go to the Shopify Dev Dashboard and click Stores in the left menu.
- Click Create store and select the Dev option.
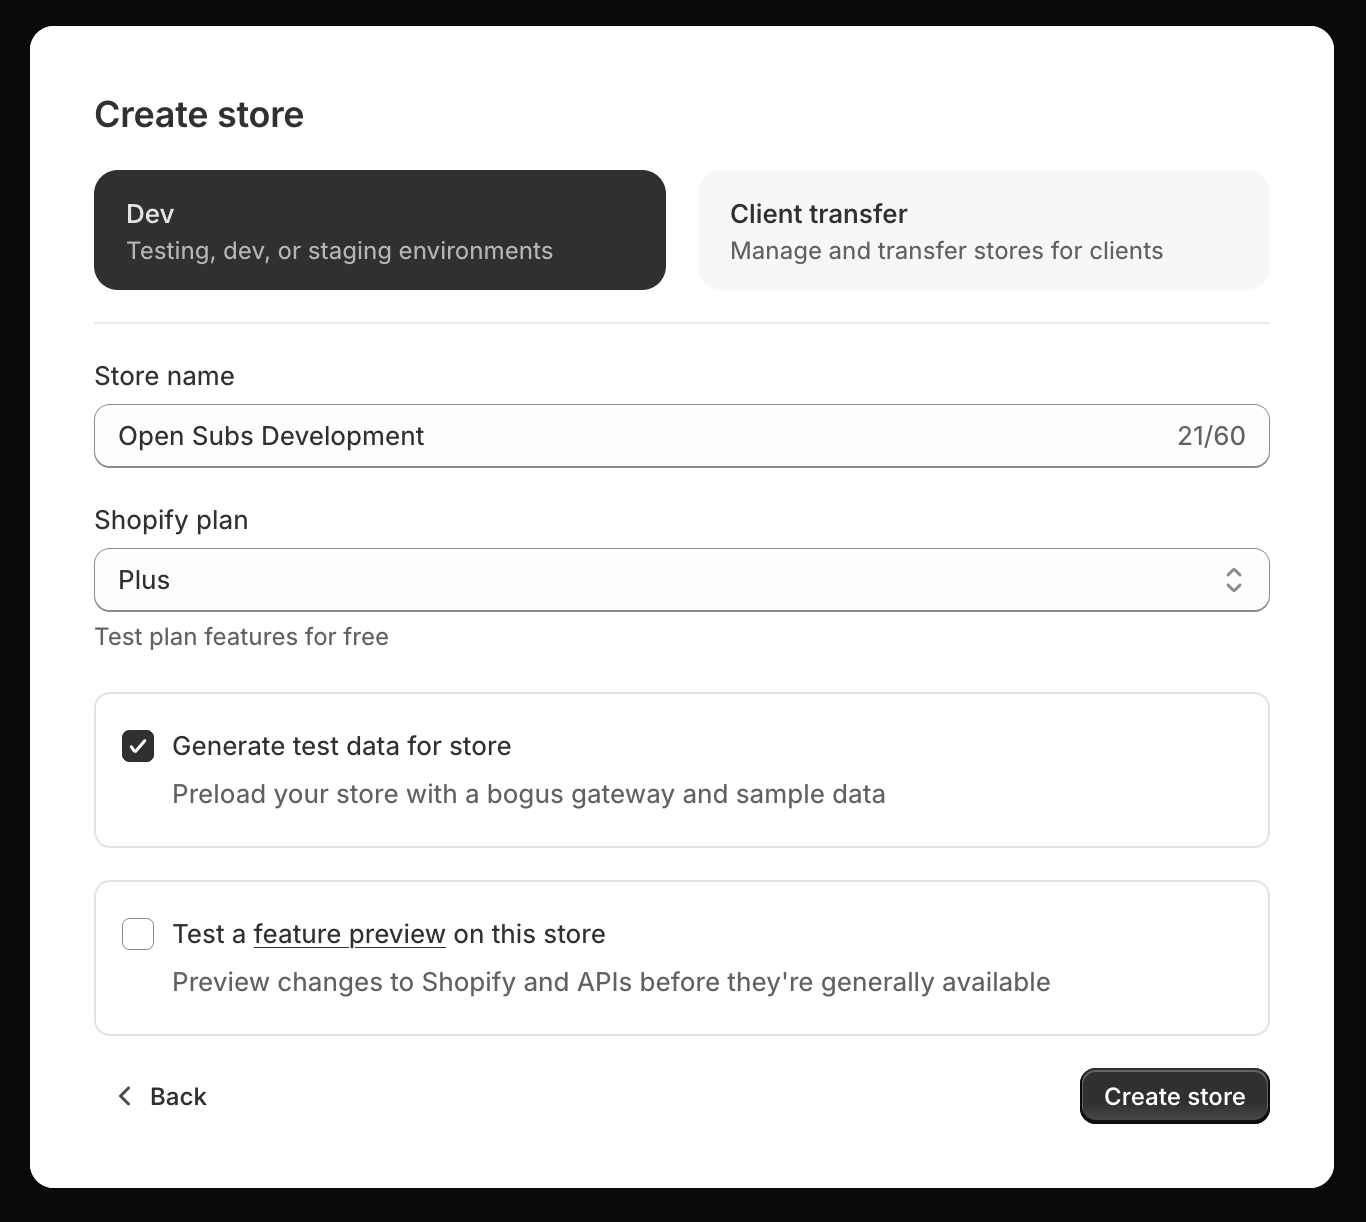
- Note your new store’s
.myshopify.comdomain; the installer asks for it later.
Checkpoint: a dev store with test products, domain noted.
3
Create the hosting accounts
Why Pro?
Why Pro?
Free Supabase projects can pause after inactivity, taking billing and subscriptions offline. Pro adds more compute, database capacity, and higher usage limits.
When signing up, don’t create a new project in either; the OpenSubs installer auto-creates this for you.
Checkpoint: Supabase and Vercel accounts exist. Everything gathered: Client ID, Client secret, App Automation Token, dev store domain, license key nearby. No email or SMS provider needed yet.