

1
The license key
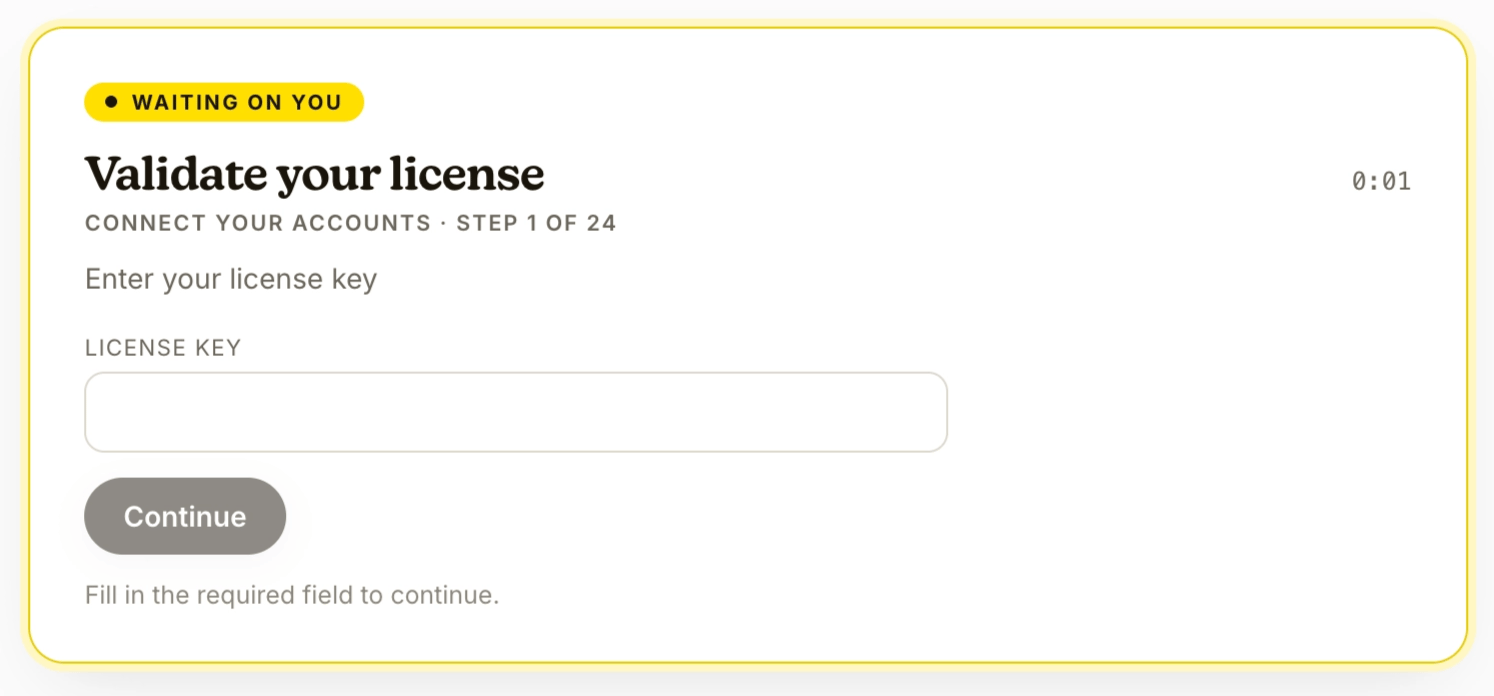
- Enter your license key and click Continue.
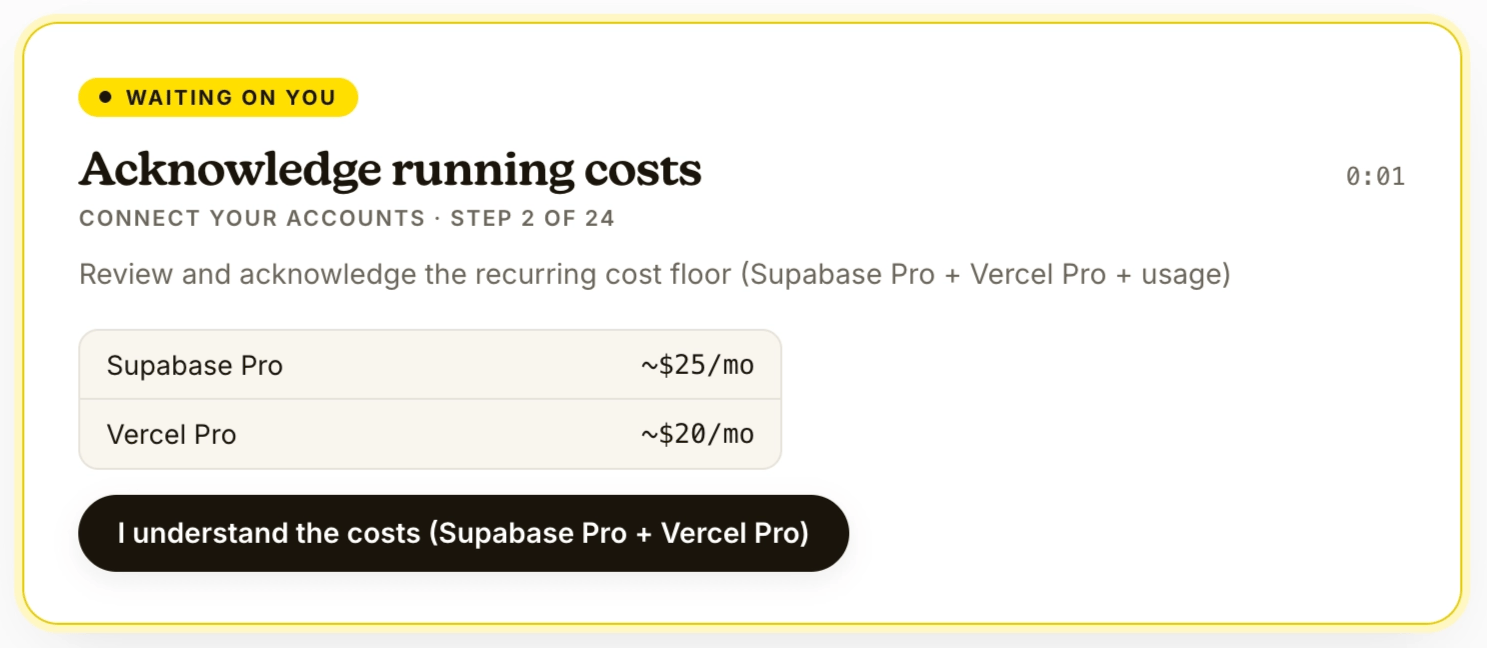
- Review the running costs, a recurring floor of Supabase Pro (~$25/mo) + Vercel Pro (~$20/mo) plus usage, and click I understand the costs.
Checkpoint: license validated, costs acknowledged. 2 of 7.
2
The Shopify values
The Create your Shopify app card asks for four values, and you gathered every one in Gather the accounts. It keeps them only long enough to provision, then purges them.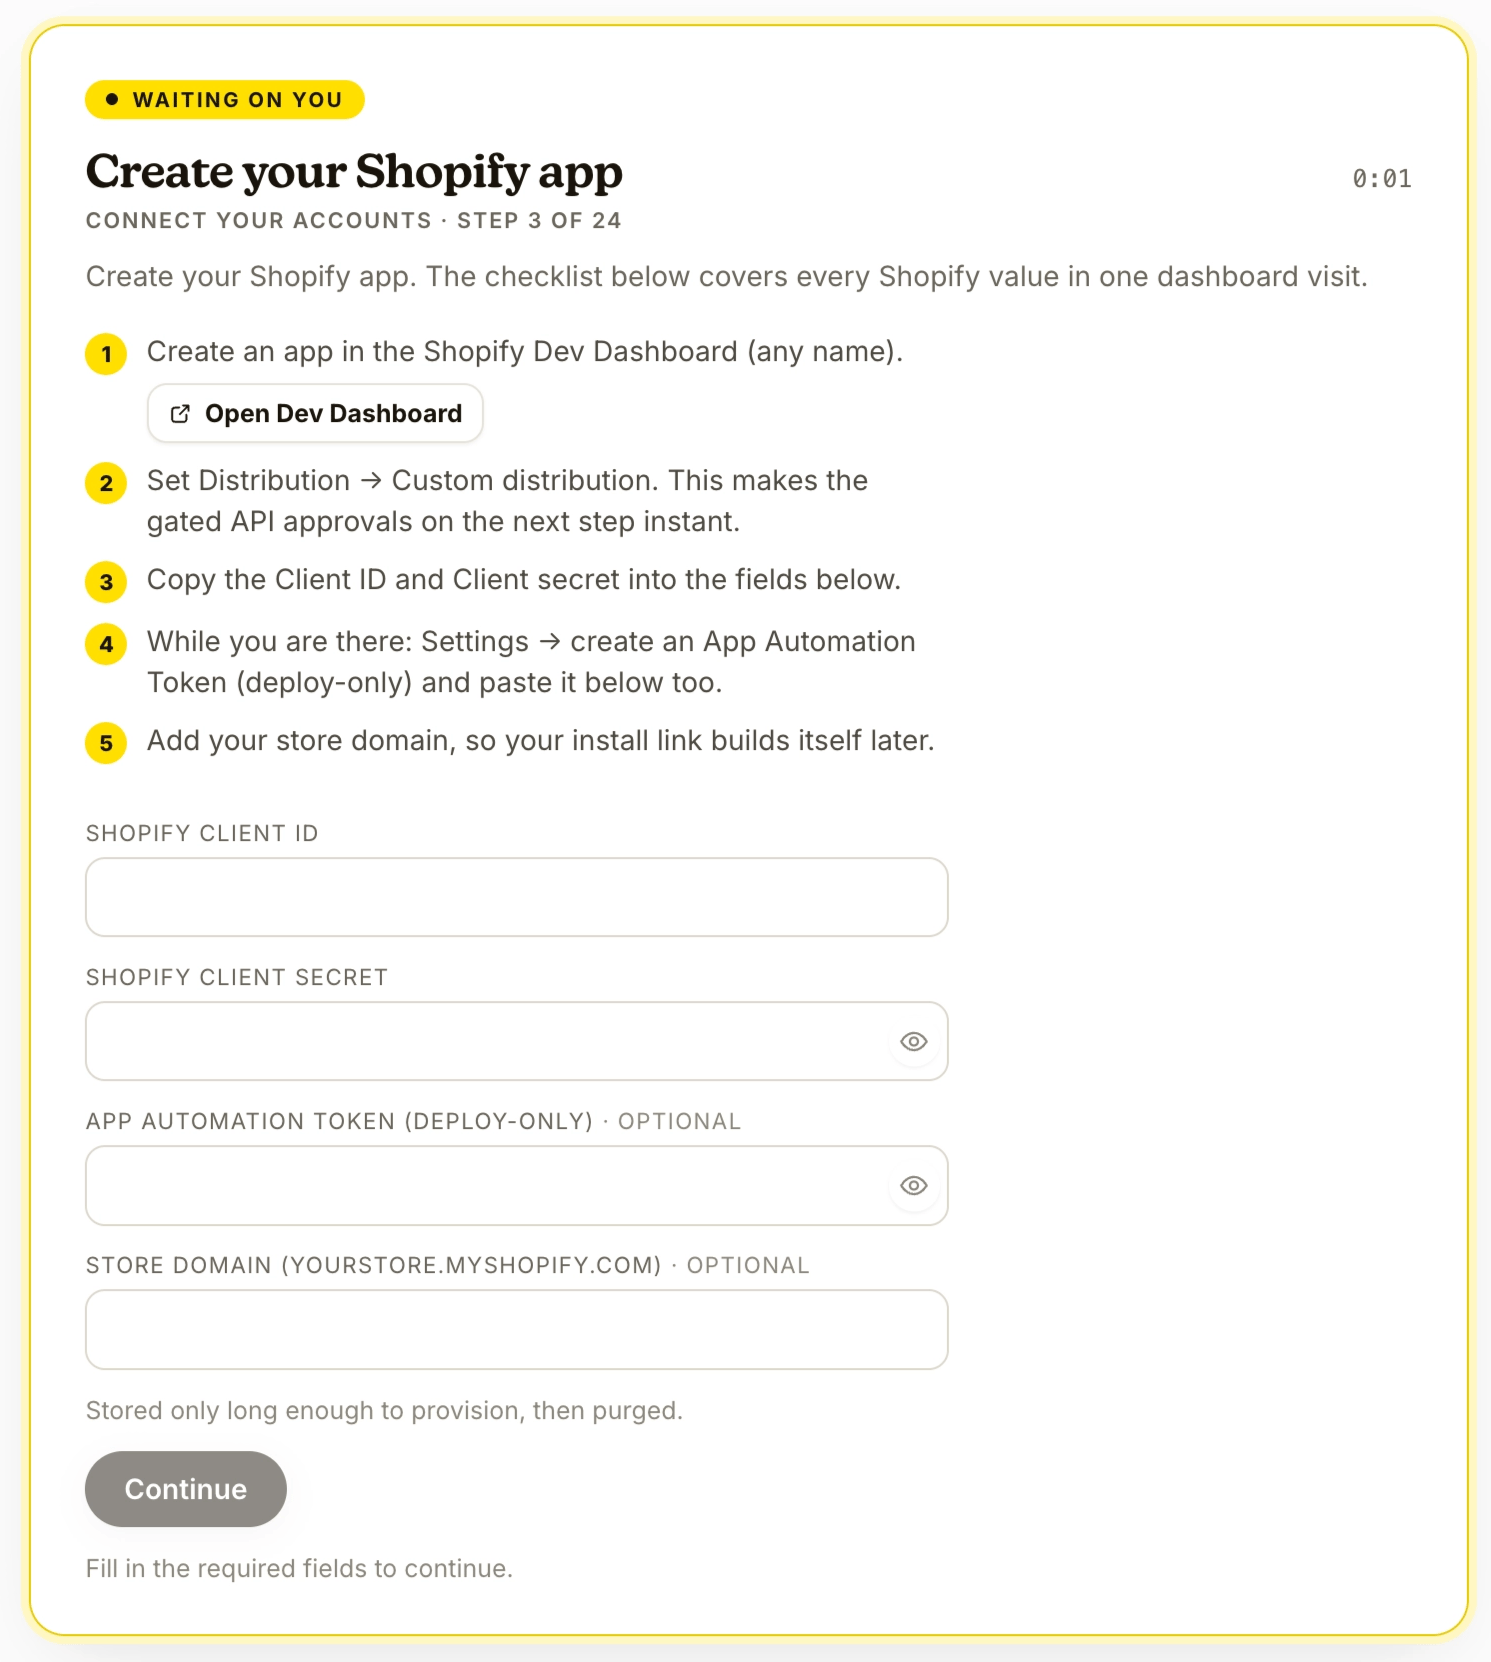
- Paste the Client ID and Client secret.
- Paste the App Automation Token (deploy-only).
- Enter your dev store’s
.myshopify.comdomain from Gather the accounts (your install link builds itself from it later), then click Continue.
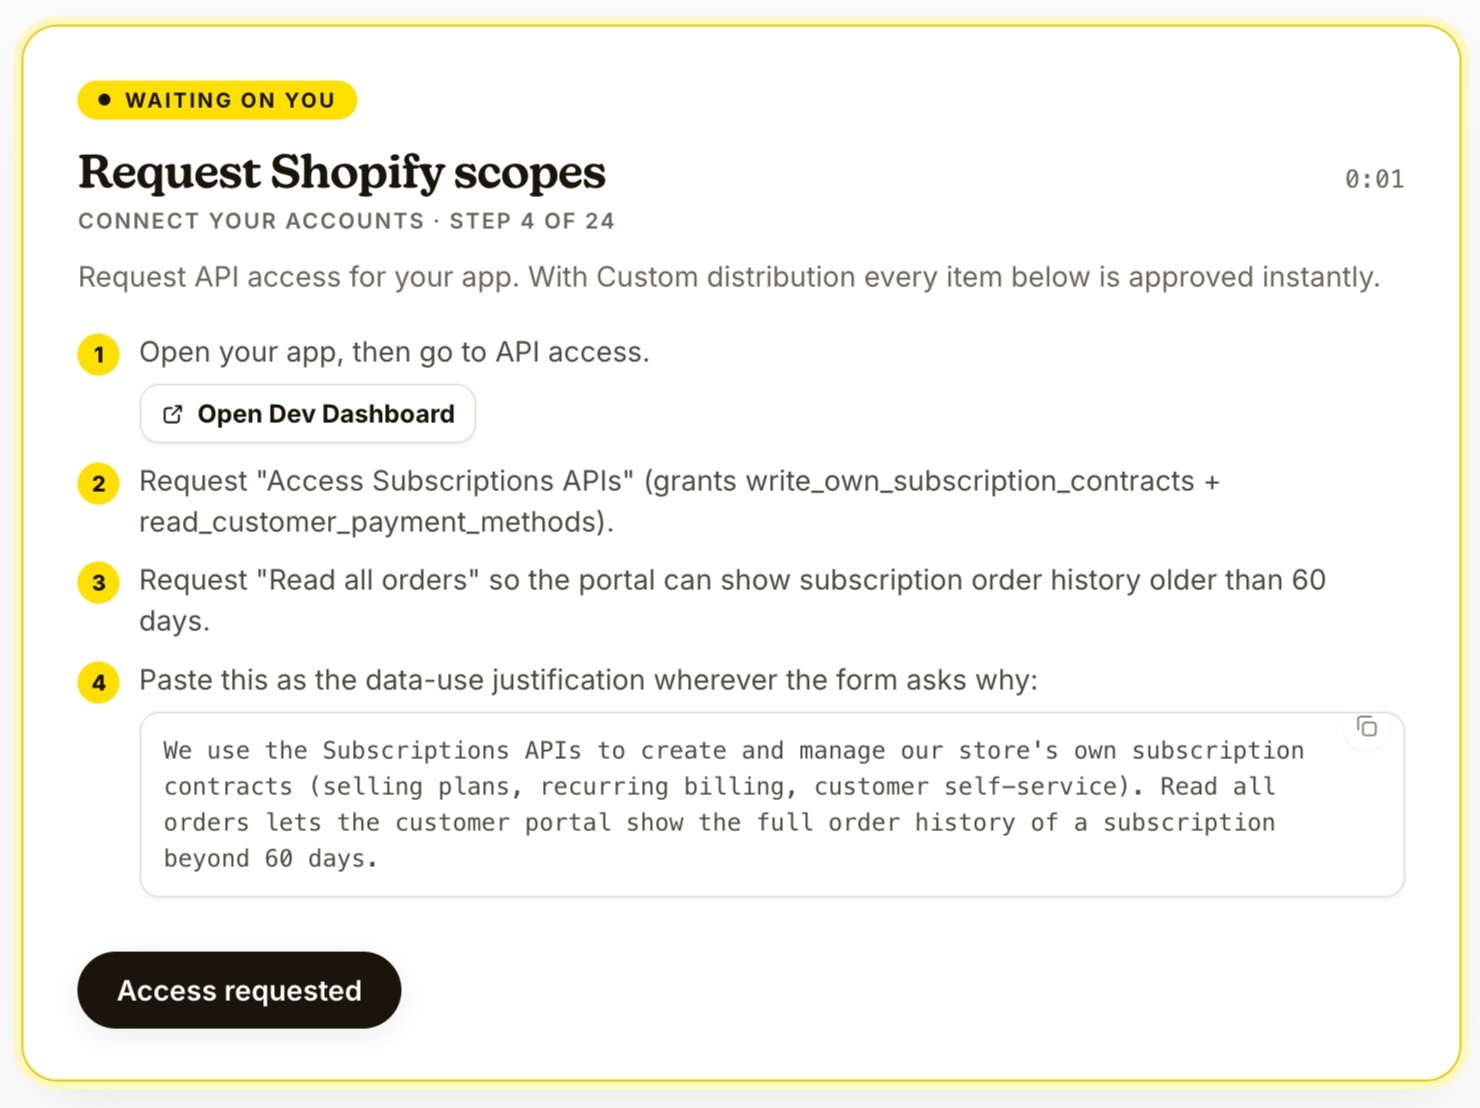
- On Request Shopify scopes, confirm the two requests you filed in Gather the accounts (Access subscriptions APIs and Read all orders) show granted in the Dev Dashboard, then click Access requested.
- “With Custom distribution every item below is approved instantly.” The data-use justification sits right there with a copy button if a form still wants it.
Checkpoint: every item granted. No wait, no review queue.
3
The hosting connections
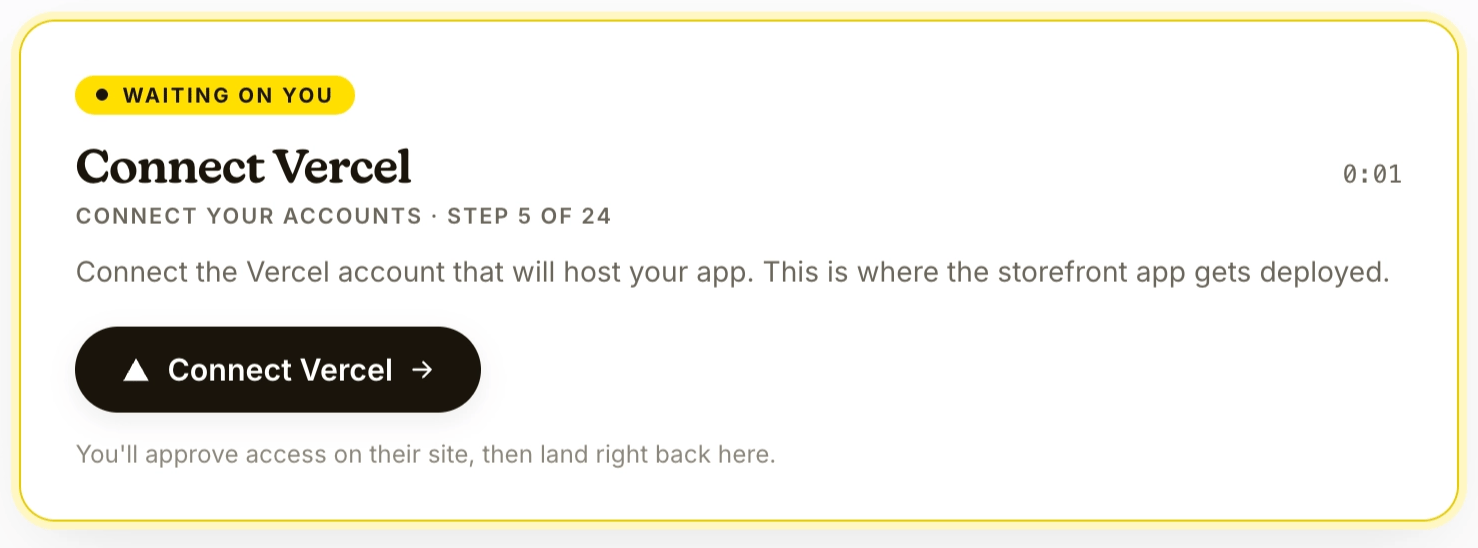
- Click Connect Vercel.
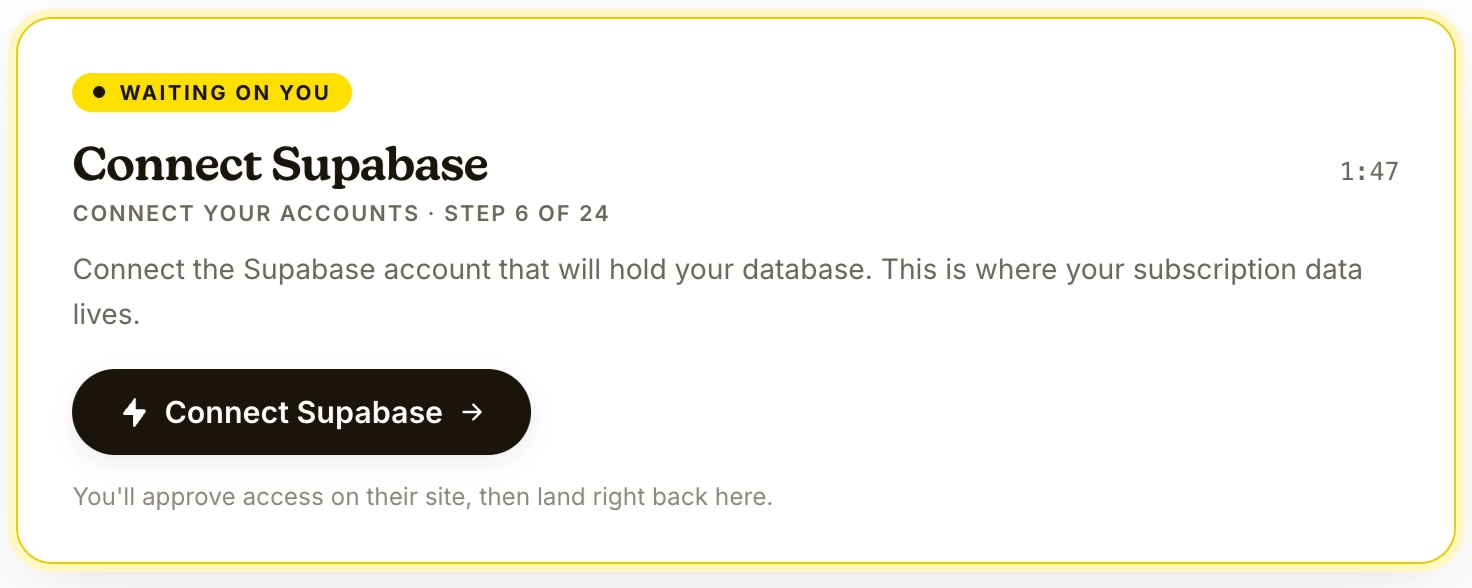
- Click Connect Supabase.
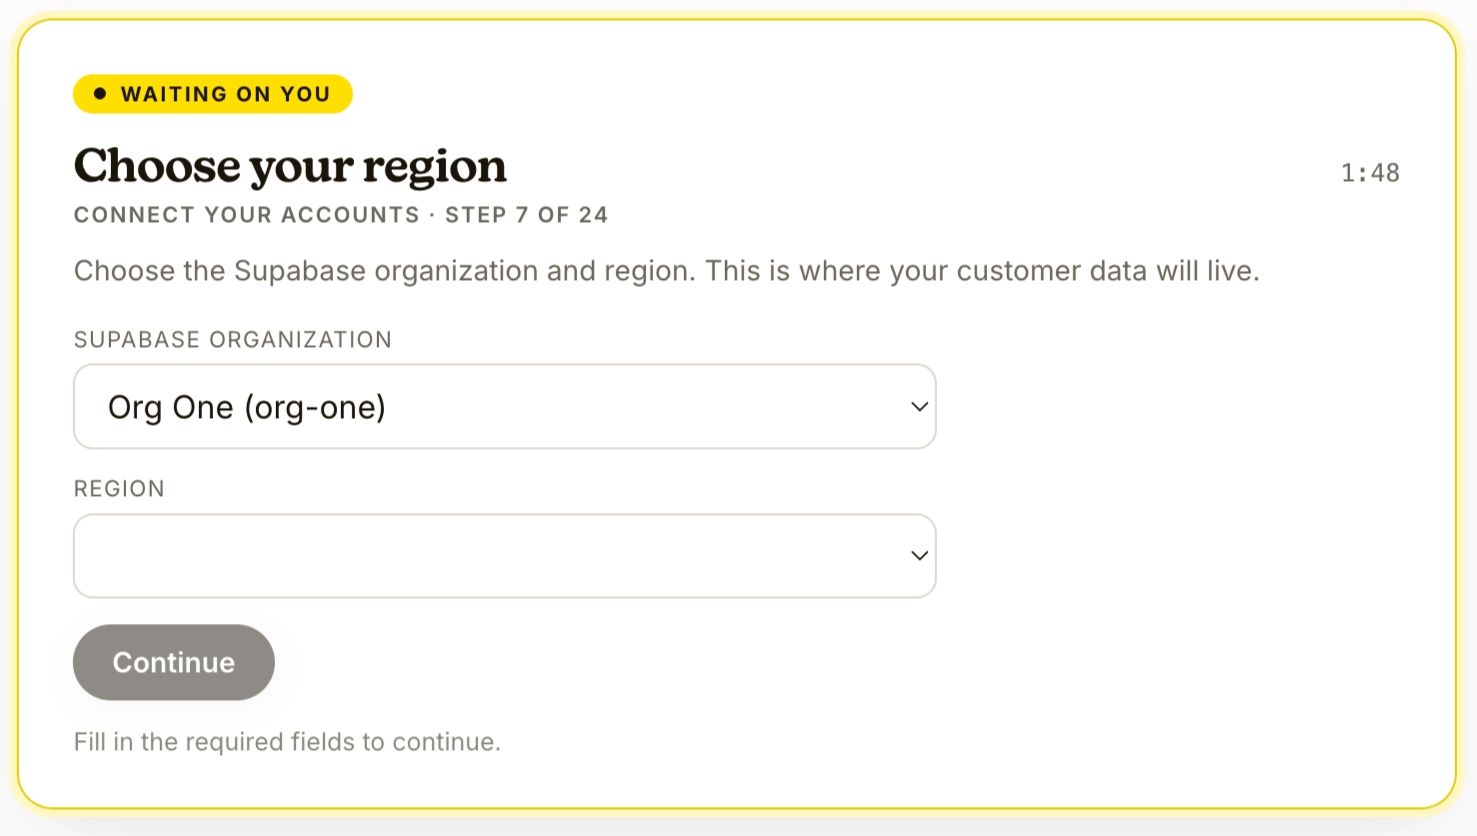
- Choose your region: pick your Supabase organization and the region your subscriber data will live in, then click Continue.
Checkpoint: 7 of 7, nothing left to type. Build begins on its own.